1. Introduction
Missing a few duct fittings or forgetting insulation on a bid may seem minor—until it quietly eats your profit or delays the whole job. In HVAC construction, an accurate duct takeoff is what separates a winning, profitable bid from a costly guess.
This guide explains what an HVAC duct takeoff is, what it should include, how to perform one step by step, and the mistakes that most often throw off an estimate. You’ll also see a worked example, a downloadable-style checklist, and what a takeoff typically costs—whether you bid on schools, hospitals, or commercial towers.
2. What Is a Duct Takeoff?
A duct takeoff is the process of reviewing mechanical drawings and quantifying every part of a duct system—duct, fittings, insulation, supports, and accessories—so you can price material, labor, and equipment.
The output is not just a total footage number. A good takeoff records size, gauge, material, insulation, and the drawing location for each item, so every quantity can be traced back to the plans. It’s the backbone of an accurate HVAC bid, and it should always be based on the current drawing set—not treated as a final, unchangeable number.
2.1 Duct Takeoff vs. Duct Takeoff Fitting
The term “duct takeoff” has two meanings, and mixing them up creates confusion:
- Estimating takeoff: extracting quantities from construction drawings (the focus of this guide).
- Takeoff fitting: the physical fitting that branches air off a main duct into a run.
They sound identical but describe completely different things—one is a counting process, the other is a sheet metal part. This article is about the estimating process, not the branch fitting.
2.2 Duct Takeoff vs. HVAC Estimate
These two steps are related but not the same:
- Takeoff produces quantities.
- Estimate applies unit prices, labor rates, equipment, overhead, and profit to those quantities.
For example, your takeoff might record 150 LF of 24″×12″ duct and 8 elbows. The estimate then attaches material cost, fabrication and field labor hours, and markup to turn that list into a bid price. The full workflow runs: Design → Takeoff → Estimate → Proposal → Procurement. Understanding this sequence keeps you from confusing a material list with a finished bid.
3.Why Accurate Duct Takeoff Matters
Get the takeoff right and the rest of the job runs smoother. A precise takeoff helps you:
- Bid competitively without leaving money on the table.
- Order the right quantities—avoiding both cash-tying overstock and project-stalling shortages.
- Plan fabrication and field labor more realistically.
- Reduce change orders and scope disputes.
- Build historical cost data that sharpens future bids.
Done wrong, the same process leads to budget overruns, delays, and lost profit—usually before the first duct is even hung.
4. What Does a Duct Takeoff Include?
Beginners often count straight duct and stop there. A complete takeoff captures far more:
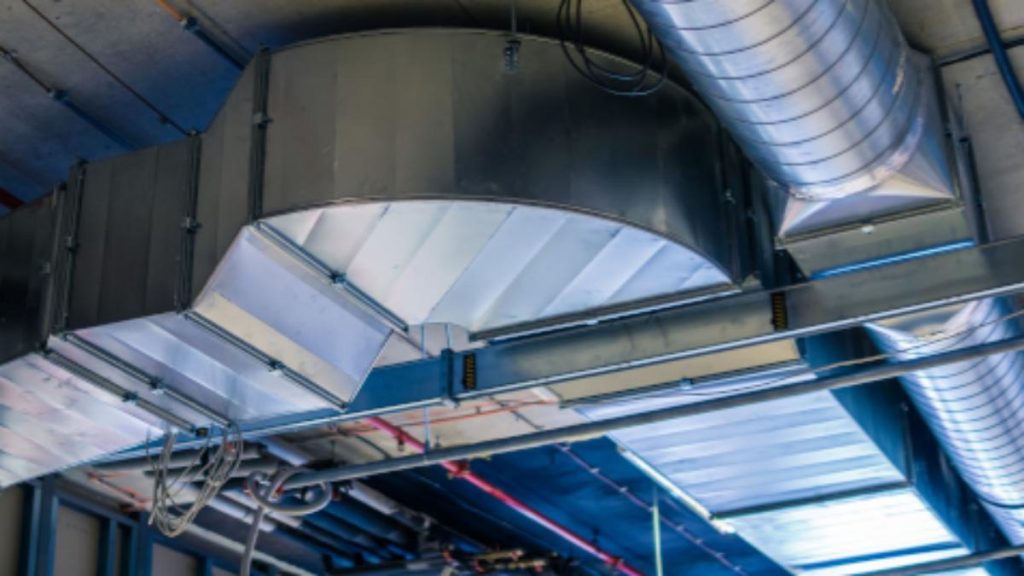
- Duct: rectangular, round, spiral, and flexible
- Fittings: elbows, tees, wyes, reducers, offsets, transitions
- Accessories: volume dampers, fire/smoke dampers, access doors
- Air distribution: grilles, registers, diffusers, louvers
- Insulation and lining: external wrap and internal lining
- Supports: hangers, trapeze systems, seismic bracing
- Other: flexible connectors, sealants, fasteners, and any demolition scope
For each item, record size, gauge, material, and a drawing reference. The fittings, insulation, dampers, and supports are exactly where most estimates go wrong—they’re easy to overlook and expensive to add later.
5.Documents You Need Before Starting
A takeoff is only as good as the documents behind it. Before measuring, gather:
- The latest mechanical drawings and specifications
- Equipment schedules and damper schedules
- Architectural plans and reflected ceiling plans
- Structural and fire/life-safety drawings
- Sections, details, and riser diagrams
- Bid instructions, addenda, and RFIs
Always confirm the drawing revision and scale first. Working from an outdated set or an uncalibrated PDF is one of the fastest ways to blow a bid How to Read HVAC Drawings.
6.How to Perform a Duct Takeoff
Based on common practices used by HVAC estimators and fabrication teams, a reliable takeoff follows the same repeatable, field-tested workflow every time.
1. Confirm the Scope
Identify new work, renovation, and demolition. Separate supply, return, exhaust, and outside-air systems, and flag anything owner-furnished or handled by another trade. Write down your inclusions, exclusions, and assumptions up front.
2. Review Drawings and Specifications
Check duct material, pressure class, and gauge. Note insulation, lining, sealing, and fire/smoke requirements. Cross-check the latest addenda so nothing slips through.
3. Calibrate and Organize
Calibrate the scale on every sheet—never assume all pages match. Organize by floor, zone, and system, and use consistent color coding so nothing gets counted twice or missed.
4. Measure Straight Duct Runs
Measure horizontal and vertical duct, keeping rectangular, round, spiral, and flexible duct separate. Record dimensions, material, and gauge, and don’t forget risers and shafts that won’t show on a floor plan.
5. Count Fittings and Transitions
Count elbows, tees, reducers, offsets, and transitions by size and type. Fittings add both material and fabrication labor, so skipping them is a direct hit to accuracy Duct Fittings Guide.
6. Add Accessories and Code Items
Pull dampers, fire/smoke dampers, access doors, grilles, and diffusers from the schedules and life-safety drawings—not just the plans. These are the most commonly missed, code-required components.
7. Calculate Insulation and Supports
Separate external insulation from internal lining, and calculate area by duct size and length. Size hangers and supports based on the spec and spacing—don’t apply one spacing to every system.
8. Compile the Bill of Materials
Turn your measurements into a clear BOM with description, system, size, gauge, quantity, unit, material, drawing reference, and notes. Keep the detail—don’t collapse everything into a single total.
9. Review the Takeoff
Cross-check plans against riser diagrams, schedules, and details. Confirm all systems are complete, hunt for duplicates, and ideally have a second estimator review it independently.
How Ductwork Quantities Are Measured
One thing most guides skip: what unit each component is counted in.
| Component | Common Unit |
|---|---|
| Rectangular duct | LF, SF, or weight |
| Round / spiral duct | LF (record diameter + gauge) |
| Flexible duct | LF |
| Fittings & accessories | Each |
| Duct insulation / lining | SF |
| Hangers & supports | Each or by spacing |
| Equipment | Each |
| Labor | Hours (added at estimate stage) |
Your method should match how your suppliers quote and how your fabrication shop and cost database work.
For rectangular duct, the basic surface area is:
Duct surface area=2(W+H)×LDuct surface area=2(W+H)×L
This covers straight duct only—seams, fittings, waste, and fabrication allowances are handled separately, and the final price should follow your shop’s rules and the project specs.
7. Duct Takeoff Process Example
Here’s a simplified example for a small commercial office building to show how the numbers come together.
Project: Commercial office building, single supply system
| Item | Size / Spec | Quantity | Unit | Notes |
|---|---|---|---|---|
| Rectangular supply duct | 24"×12" | 150 | LF | Main run, 26 ga |
| Elbows | 24"×12", 90° | 8 | Each | Radius elbows |
| Transitions | Reducing | 4 | Each | At branch drops |
| Volume dampers | — | 4 | Each | One per branch |
| External insulation | 1.5" wrap | 2,000 | SF | Concealed duct |
| Hangers | Per spec spacing | ~30 | Each | ~10 ft spacing |
From this list, the estimate then applies material cost, fabrication and field labor hours, waste, and markup. Notice how quickly the “extras”—8 elbows, 4 transitions, 4 dampers, 2,000 SF of insulation, and ~30 hangers—add up beyond the 150 LF of duct. Leave any of them off and the bid is instantly wrong.
8. Duct Takeoff Checklist
Use this as a quick, printable check before you submit any HVAC bid.
| Phase | Check Item | Done |
|---|---|---|
| Before | Verify latest drawing revision | ☐ |
| Before | Gather specs, schedules & addenda | ☐ |
| Before | Confirm duct material & gauge | ☐ |
| Before | Calibrate scale on every sheet | ☐ |
| During | Measure all horizontal & vertical duct | ☐ |
| During | Count fittings & transitions | ☐ |
| During | Capture dampers & fire-rated items | ☐ |
| During | Calculate insulation & supports | ☐ |
| During | Record drawing references & assumptions | ☐ |
| Before bid | Check for duplicates & missing risers | ☐ |
| Before bid | Verify equipment schedules | ☐ |
| Before bid | Add labor, waste & markup | ☐ |
| Before bid | Complete an independent review | ☐ |
9. Real-World Example: Where Estimates Usually Fail
On commercial projects, the most inaccurate duct bids rarely fail on the straight duct—they fail on what’s hidden. Missing fire dampers, overlooked shaft transitions, and uncounted vertical risers are the classic culprits, because they don’t show up cleanly on a single floor plan.
A few patterns experienced estimators watch for:
- Fire and smoke dampers buried in the damper schedule, not the plans.
- Shaft and riser transitions that only appear on section or riser drawings.
- Lined vs. wrapped duct counted as the same thing, throwing off insulation totals.
- Return-air and exhaust systems that get less attention than the supply side.
Catch these four and you’ve eliminated most of the errors that cause change orders.
10.Common Duct Takeoff Mistakes
Watch for these—they cause the majority of blown bids:
- Using an outdated drawing revision or ignoring addenda
- Measuring at the wrong scale
- Missing vertical risers
- Counting straight duct but forgetting fittings
- Double-counting the same item on plans and details
- Confusing lined duct with externally insulated duct
- Missing dampers, access doors, and fire-rated components
- Applying one waste factor to every material
- Not recording assumptions, exclusions, or drawing references
- Skipping an independent review
11.Manual vs Digital Duct Takeoff Software: Which Method Is Better?
Manual takeoffs are flexible and cheap to start but slow and error-prone. Digital duct takeoff software speeds up measuring and keeps every quantity traceable, while BIM- and AI-assisted tools can automate repetitive counts on standardized drawings.
The key point: automation still needs human review. Software can measure fast, but it won’t read your specifications, sort your systems, or catch missing scope on its own. When comparing HVAC or construction takeoff software, look for:
- PDF scale calibration
- Color coding and custom assemblies
- A cost and labor database
- Revision comparison
- Clean BOM and report export
12. How Much Does a Duct Takeoff Cost?
Duct takeoff cost depends on how you get it done:
- In-house (manual): No software fee, but it consumes your estimator’s hours—often the hidden cost during bid season.
- Takeoff software: Typically a monthly or annual subscription. Best value if you bid frequently and want traceable, reusable data.
- Outsourced takeoff services: Priced per project or per drawing set. Useful during bid overloads, for large or complex jobs, or when you need an independent second set of eyes.
The right choice depends on your bid volume, project size, and internal estimating capacity. Many contractors mix methods—software for routine bids, outsourcing for peaks. If you’d rather hand it off, our team can turn your plans into a bid-ready takeoff HVAC Estimating Services . Once quantities are confirmed, fabrication teams use duct manufacturing equipment to produce components directly from the takeoff data Auto Duct Production Line.
13. FAQ
1.What’s included in a duct takeoff?
A duct takeoff includes straight duct (rectangular, round, spiral, flexible), fittings like elbows and transitions, dampers, access doors, grilles and diffusers, insulation and lining, and hangers and supports. Each item is recorded with its size, gauge, material, and a drawing reference so the quantities can be traced back to the plans and priced accurately.
2.Is a duct takeoff the same as a takeoff fitting?
No. A duct takeoff is the estimating process of counting and measuring duct quantities from drawings. A takeoff fitting is a physical sheet metal part that branches air off a main duct into a run Duct Fittings Guide. They share a name but describe completely different things—one is a task, the other is a component.
3.What’s the difference between a takeoff and an estimate?
A takeoff produces quantities; an estimate turns those quantities into a price. For example, a takeoff records 150 LF of duct and 8 elbows, while the estimate applies material cost, fabrication and field labor, waste, overhead, and profit to reach the final bid. You need an accurate takeoff before you can build a reliable estimate.
4.How is rectangular ductwork measured?
Rectangular duct is measured by linear feet, surface area, or weight, depending on how your fabrication shop and pricing database work. Surface area uses the formula 2 × (Width + Height) × Length for straight runs, with seams, fittings, and waste handled separately.
5.Should fittings be counted separately?
Yes. Fittings carry different material and labor costs than straight duct and must be counted individually by type, size, and angle. Skipping fittings is one of the most common reasons a bid comes in too low, because elbows, transitions, and reducers add significant fabrication time.
6.What waste factor should I use?
There’s no universal number. Base your waste factor on the material, fabrication method, project complexity, and—most importantly—your own historical data rather than a flat percentage applied to everything.
14. Conclusion
A duct takeoff is the bridge between the drawings and a profitable job—it drives your bid, your purchasing, and your field coordination. Accuracy doesn’t come from software alone; it comes from complete documents, a consistent measurement method, and disciplined review.
Keep the difference between takeoff and estimate clear, and pay special attention to fittings, insulation, supports, and fire-rated accessories—the items most often missed. Do that consistently, and you’ll bid with confidence and protect your margins.